I finally got an opportunity to try this when I received a blower for free at a garage sale. Apparently the previous owners had their house heater replaced, and the workers didn't want to throw out a perfectly good blower.
At first, I had the impression that the original housing would be to flimsy to bolt the required hardware to, so I decided to build a new one.
I used mostly leftover bed frame angle iron from the trailer project. To build the frame, I bolted the pieces together instead of welding in case I wanted to take it apart later.
Laying out the frame.
Marking the hole locations.
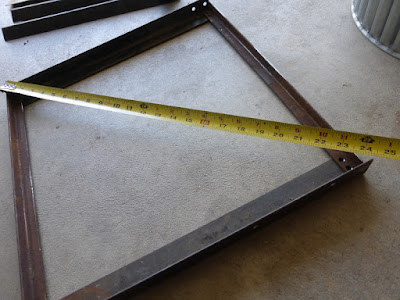
Checking for squareness.
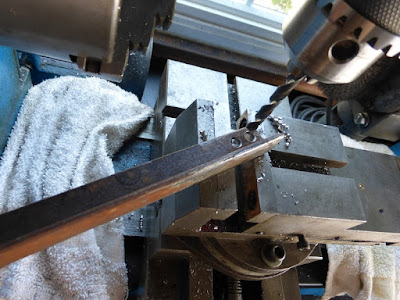
Then for the bearing bracket, I used pieces from dismantled drawer slides.
I had to turn two bushings to hold the bearings.
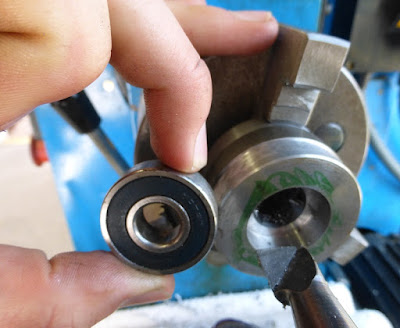
Boring the bearing bore.
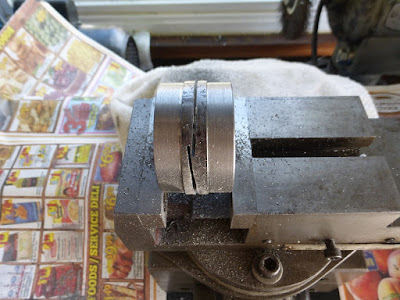
I made both bushings from the same piece of material, one on either side. Here I am cutting it in half.
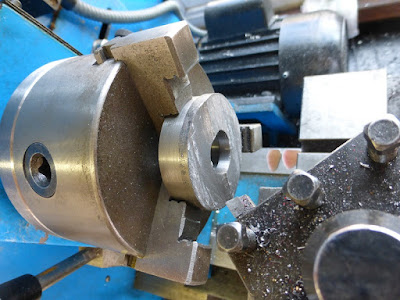
Now turning the saw-cut faces.
Much smoother.
Drilling and tapping the holes for securing to bracket.
And finally, tamping the bearings into the bushings with a brass hammer.
The ends of the 1/2" rotor shaft had to be turned down to fit into the 12mm bearings which measured .472". These particular bearings were from the bicycle compressor after I took it apart. Now they get their second chance in building the bicycle powered furnace.
Drilling clearance holes in the brackets. Drilling through thin stuff like this with a large drill has the tendency to produce a non-round hole because of the drill wandering.
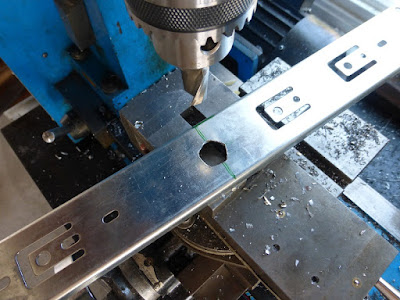 |
| So who's selling the pentagon shaped drill bits? |
Milling set screw flat and end flats for attaching drive train parts.
Trying a short crank arm on the shaft. Clearly this is not going to deliver enough air, so we'll need to step up the ratio.
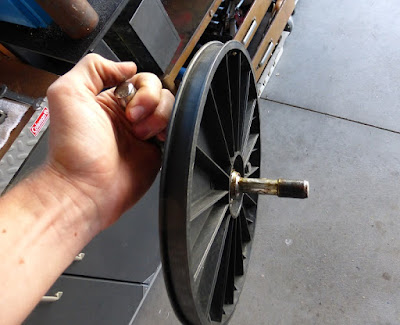
Removing the axle from a scrapped exercise bike flywheel.
The crank and belt.
The other crank arm had to be cut off in order to fit around the blower housing.
Turning a new bottom bracket shell.
Using a round ended boring bar for the bearing contour. Honestly, I wouldn't be doing this if I had the correct piece of tubing sitting around (and the bearing cups from the one-piece-crank).
Putting together the bottom bracket shell with the crank.
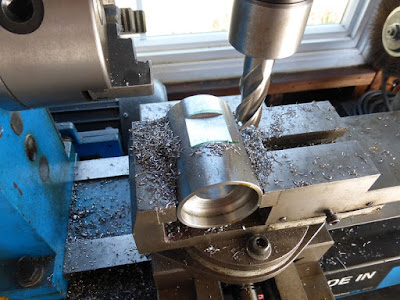
Milling a flat on the bottom bracket shell to attach to blower. I then drilled and tapped 2 holes.
The drive train bolted on.
A view of the bracket.
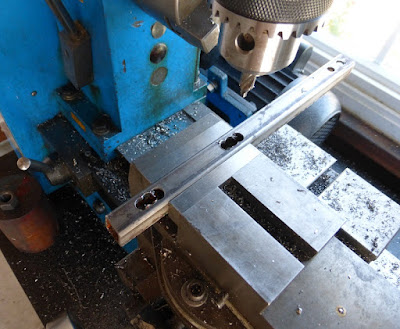
Drilling more holes to make the tension adjustable. The slots were then filed afterwards.
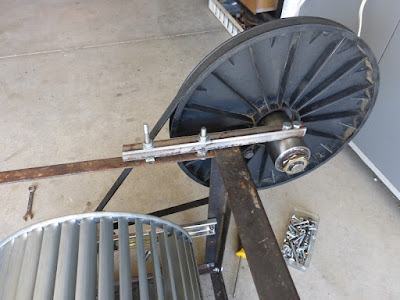
Adding a belt tensioner as well. It's just a bolt that when tightened pushes the bracket to the left.
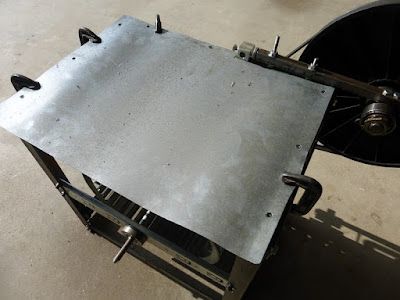
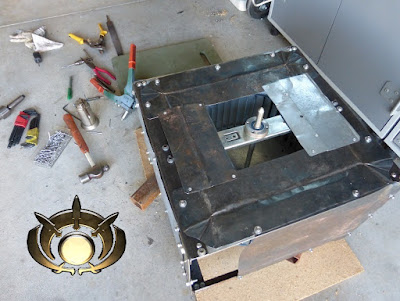
Attaching the sheet metal skin. Actually, the most expensive part of this project was the bag of #10-32 screws for attaching the sheet metal.
I practically ran out of sheet metal in this project, and had to resort to taking apart some extra metal trays I had.
I thought this thing was starting to look like it was made by the GLA from C&C Generals.
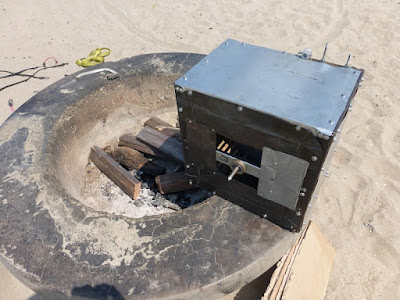
All done it seems, let's take it to the beach.
Setting it up on a fire pit.
Starting the fire with a road flare.
Soup can with melted aluminum in it.
After casting an ingot.
Part 2: Chain Drive Conversion
I was having issues with the belt falling off, so I decided to convert the thing to chain drive. Chain drive was actually my original plan, but I wanted proof that this thing would work before buying any extra hardware.
It turns out that the plastic belt pulley was not actually welded to the crank, but being held on with a hex-shaped boss.
 |
| Fraudulent tack welds |
 |
| 50t on the left, 60t on right. |
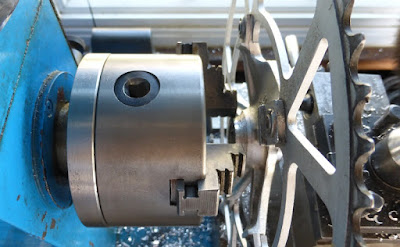
In addition to drilling a new hole, I had to turn a better diameter for chucking onto since there was barely any surface to grip onto.
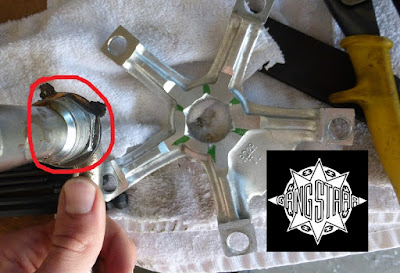
Then using a triangular file, filing the hex. I thought the pattern looked similar to the Gangstarr logo. The crank arm almost didn't fit on the one piece crank since it was considerably thicker than a stack of sprockets.
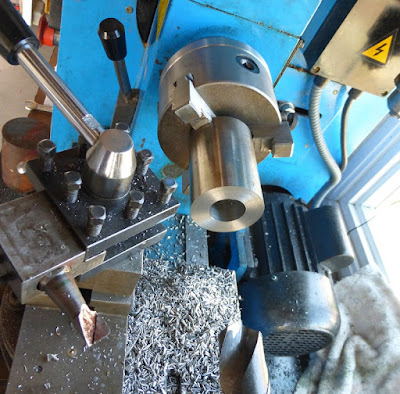
Then turning an 1.375"-24 adapter for the freewheel. Here it its next to the one for the belt.
All complete.


















No comments:
Post a Comment
Hi folks, please only leave comments relative to the blog post. All spam will be removed and spammers will be blocked.
Note: Only a member of this blog may post a comment.