Now that the trailer is in working condition, the first assignment was to get the rest of the metal to complete it. Conveniently, the metal store had the exact size piece of aluminum I was looking for to make the cargo bay.
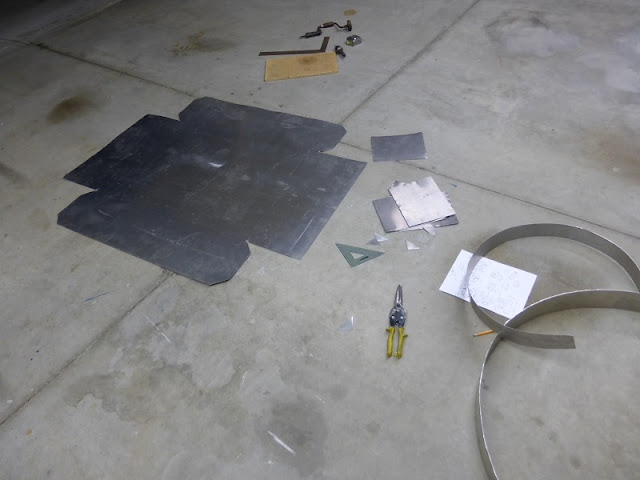
Using aviation snips to cut the pattern.
I had to improvise when bending this thing since I don't have any formal fabrication tools, so I clamped a piece of angle iron along the bend line.
Then some vise grips to start the bend.
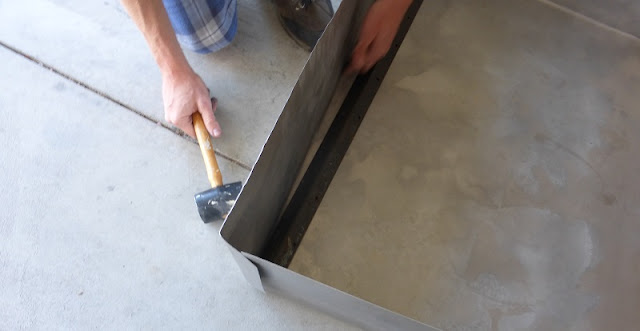
Some hammering with a mallet.
More hammering on the next side.
Bent to the final shape.
Positioning the cargo bay onto the trailer.
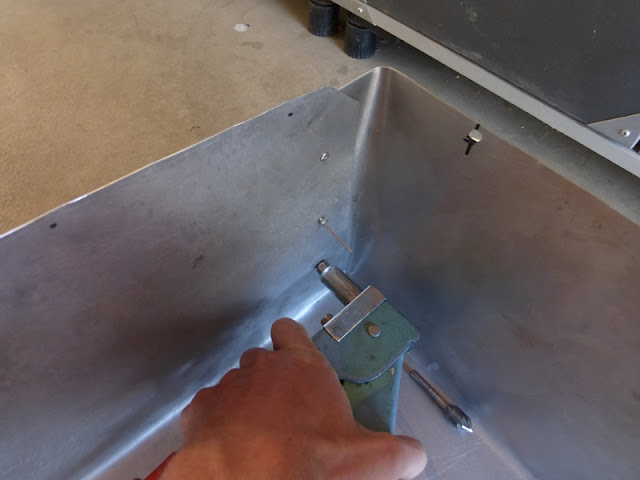
Riveting the corners of the cargo bay together.
Drilling the rivet holes in the trailer frame.
Transferring the rivet hole locations onto the sheet metal.
Punching the holes.
Pop riveting the cargo bay on the frame.
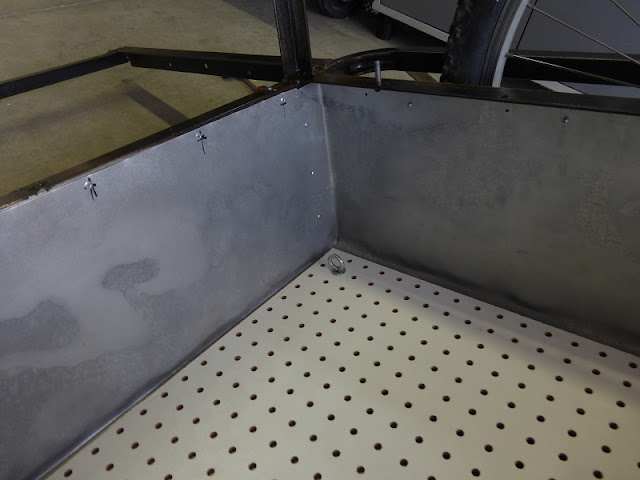
For the finishing touch, some pegboard bolted to the bottom for extra support with eyelet screws.
I secured it with acorn nuts on the bottom to prevent cutting people or things by mistake.
The completed cargo bay.
Part 1 Part 2 Part 3 Part 4 Part 5 Part 6 Part 8


No comments:
Post a Comment
Hi folks, please only leave comments relative to the blog post. All spam will be removed and spammers will be blocked.
Note: Only a member of this blog may post a comment.