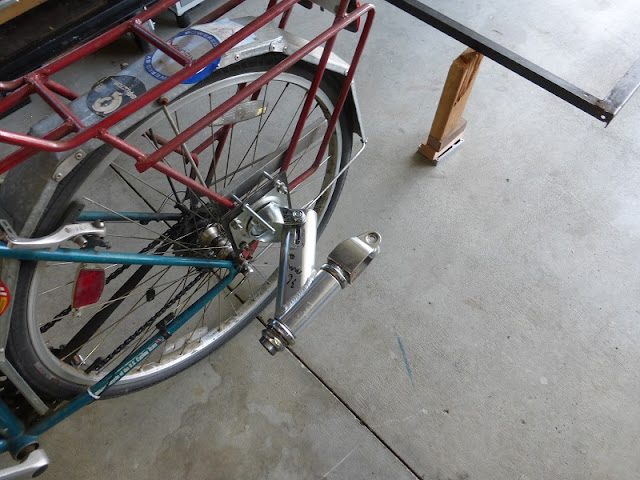
Doing some math to get the proper elevation and to make sure the two ends are parallel.

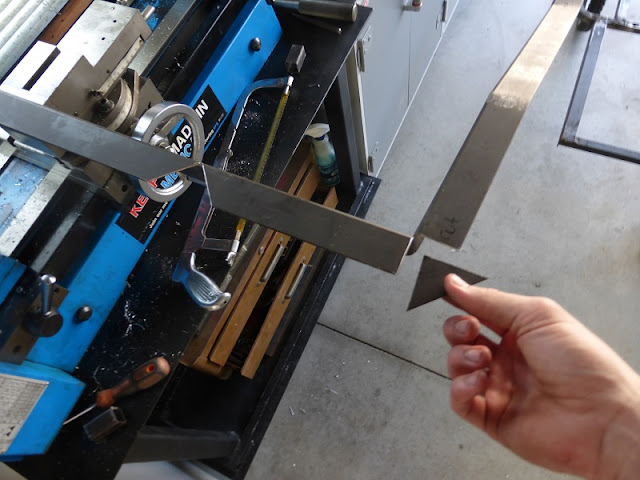
I drew a wedge shaped piece to cut but then decided it would make more sense to cut out the adjacent hole as well.
Some bending.
A wedge shaped piece cut to fill in the corner.
I know bed frame material is notoriously low quality, high carbon or whatever, and susceptible to cracking. This piece ended up falling off all the way and had to be re-welded on.
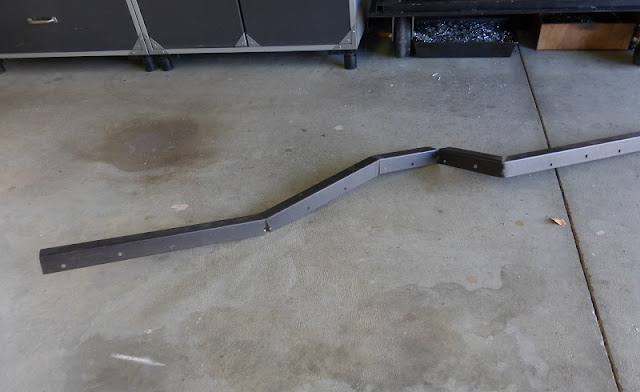
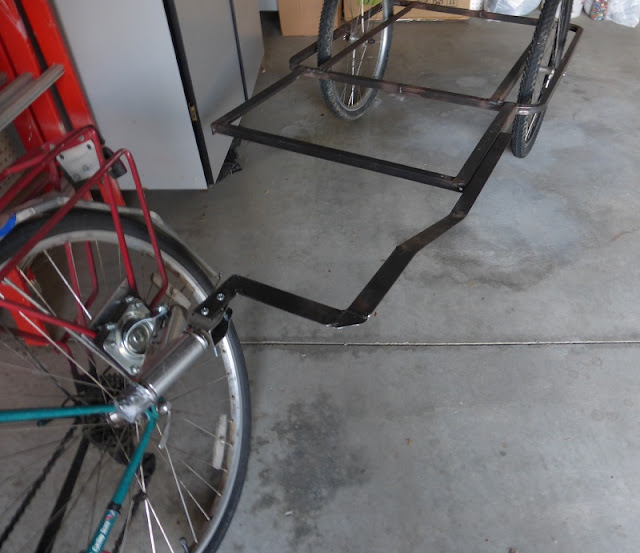
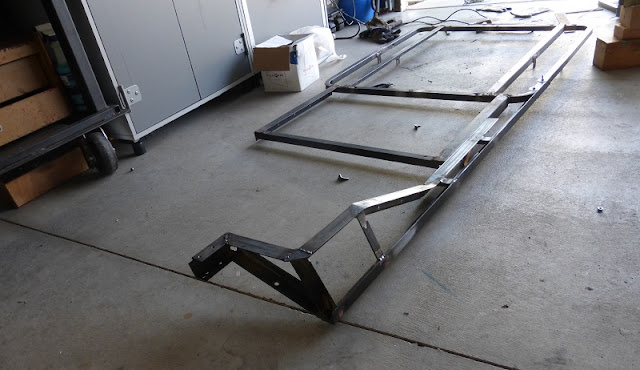
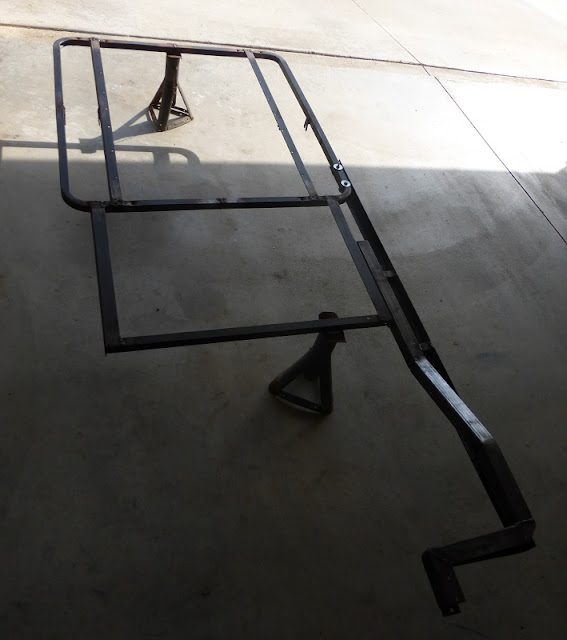
More or less the shape of the linkage prior to welding.
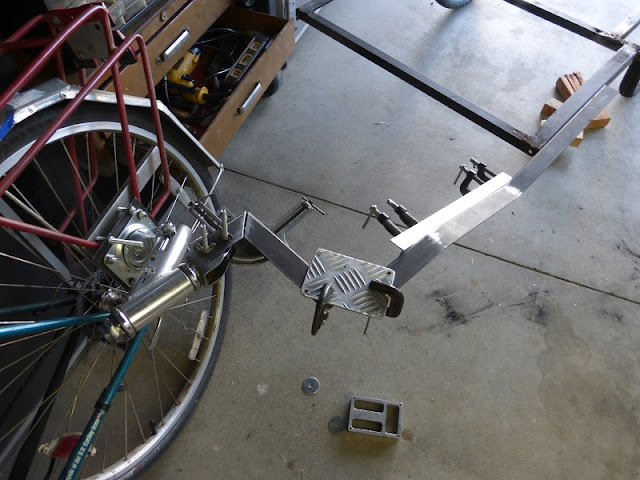
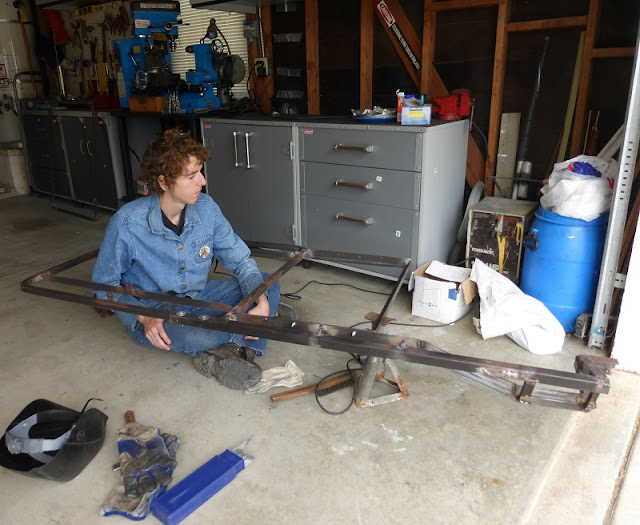
Clamping it all together to see if the trailer connected correctly.
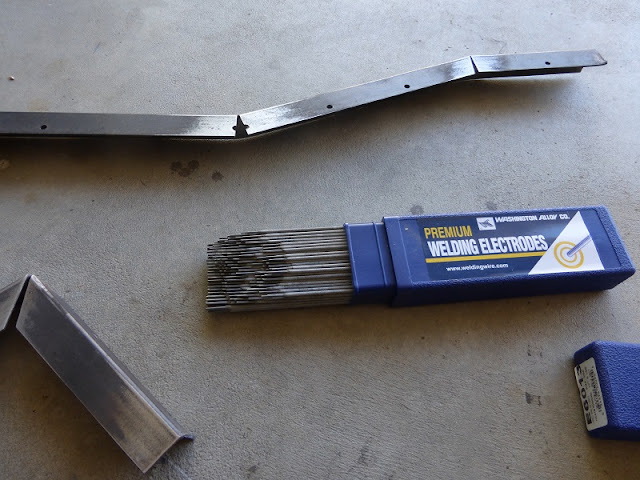
One thing I learned from this project was that my previous unscuccess with my welder was due to the fact that I was using too large of an electrode, I bought these smaller ones when they ran out, and all of a sudden I was welding like a real welder!
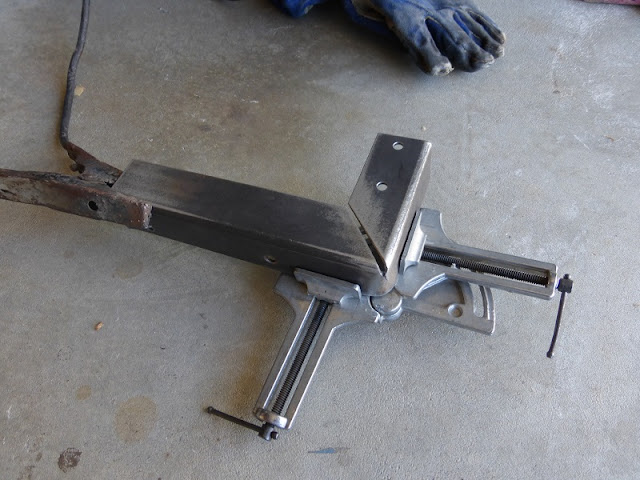
Using a right angle clamp to position the aforementioned piece that fell off for welding.
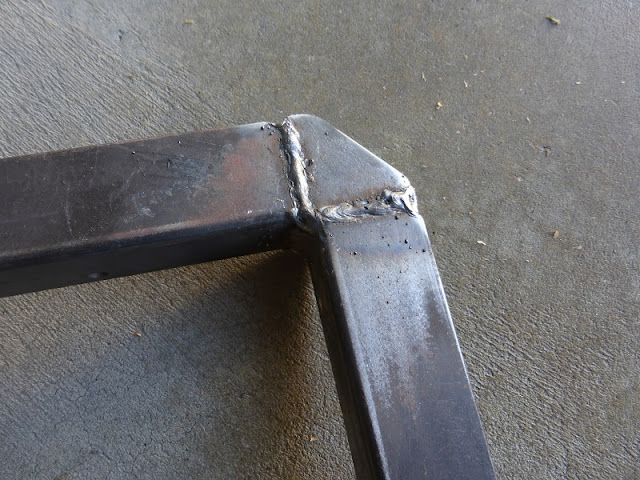
After welding.
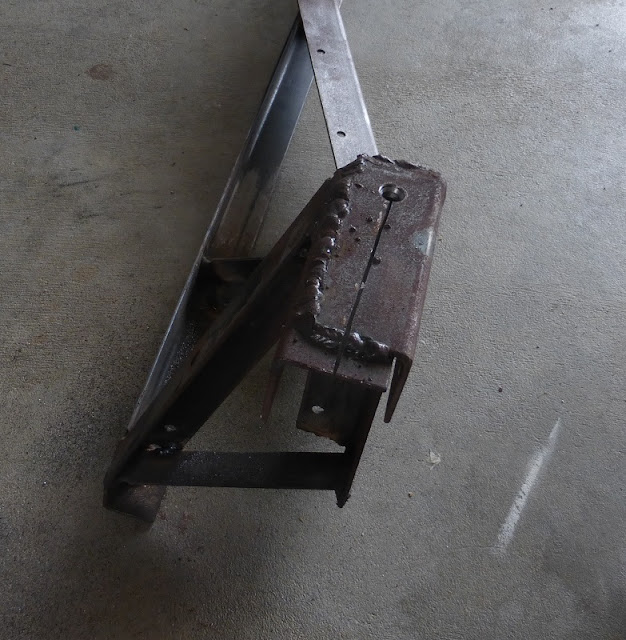
Close up of that corner piece.
At last I finally get my test ride!
Okay, so clearly after trying it out, the linkage was not rigid enough. It was flippin' and floppin' all over the place. Back to fabrication mode! First, I started by bolting another piece of bed frame on the trailer. At this point, I could tell this thing was gonna be heavy!
Then after like 12 hours of cutting and welding:
The final bracket was welded while the pieces were bolted onto the hitch, which meant the menace Mr. Shrink came in and did his work causing the two to not fit after the welding had cooled. For this, I cut a slot in the side so the halves could spread apart just enough to fit.
Looks good.
So how do you find the center of mass again? Take the integral of all the moments of inertia and divide by zero? This is why I switched from majoring in mechanical engineering to manufacturing engineering!
Part 1 Part 2 Part 3 Part 5 Part 6 Part 7 Part 8






No comments:
Post a Comment
Hi folks, please only leave comments relative to the blog post. All spam will be removed and spammers will be blocked.
Note: Only a member of this blog may post a comment.