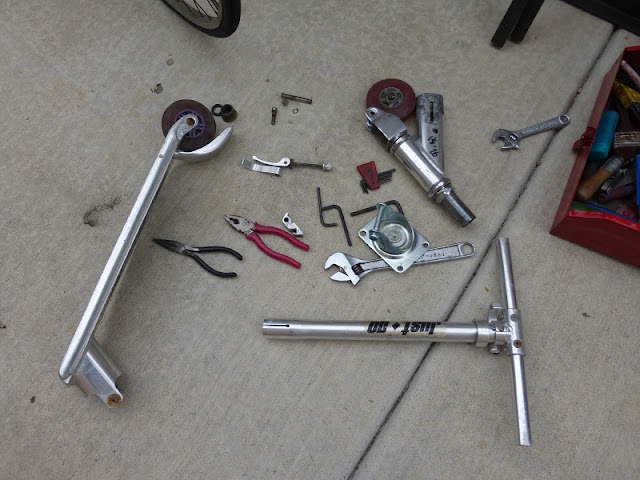
I was considering using a bicycle head tube and fork combined with the swivel castor I bought in the first post, but not having any spare bikes to take apart, I figured the steering mechanism from my scooter would work just as well. It was a great relief to finally destroy this thing after crashing on it at least once per day during my first week of college. Those small wheels just can't handle pavement deviations!
Video explaining the design:
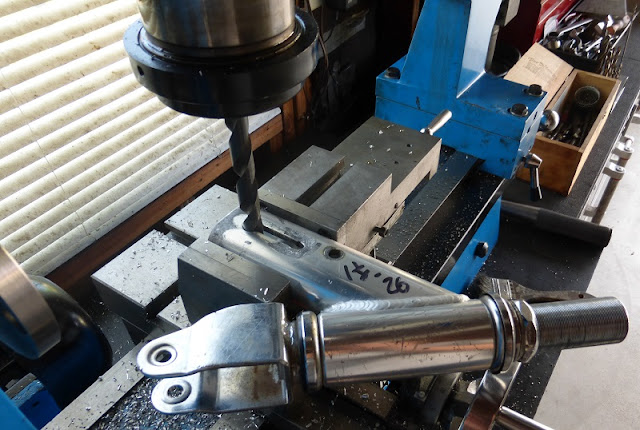
Firstly, drilling a hole for the bushing.
I used a flat end drill to avoid having the slot throw it off center.
Then, to maximize the turning radius, I cut off the excess steering tube shaft.
I guess I was too lazy to go to the hardware store to get a 1/2"-20 bolt to make the bushing from, so I decided to thread one myself. I think I had a grade 5 bolt, but it was too hard to drill through.
Then for some unnecessary precision, reaming the hole to match the castor axle.
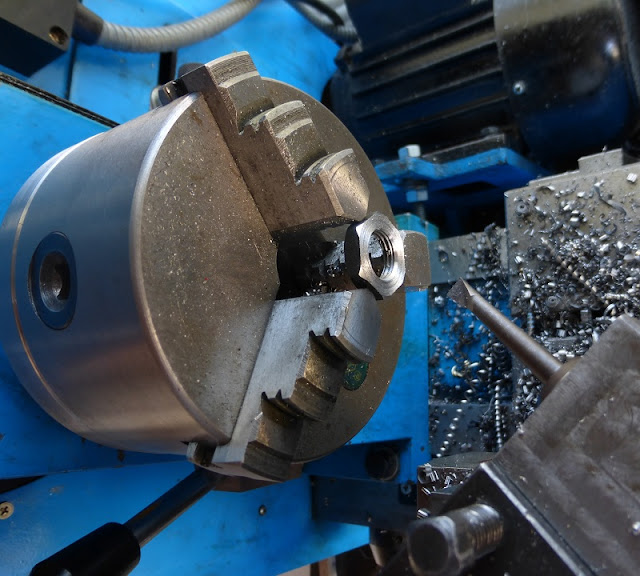
And I guess I was too lazy to get a 1/2"-20 jam nut too, so I drilled and tapped one from some hex stock.
Here's a poorly drawn diagram to explain how the bushing and castor fit together:
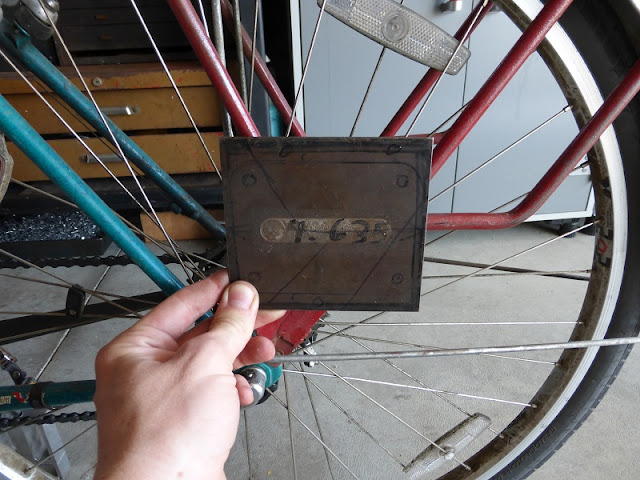
For the plate to mount the castor on, I first drew some hole locations on a piece of steel.
Then drilling the holes. Remember, always hold the clamp on the left side so it doesn't come around and hit you!
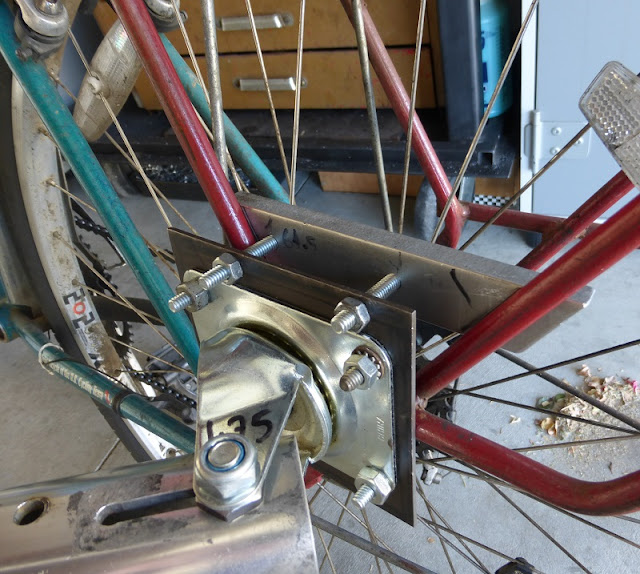
Mounting the castor with the scooter part.
Drilling some extra holes for attaching the linkage later.
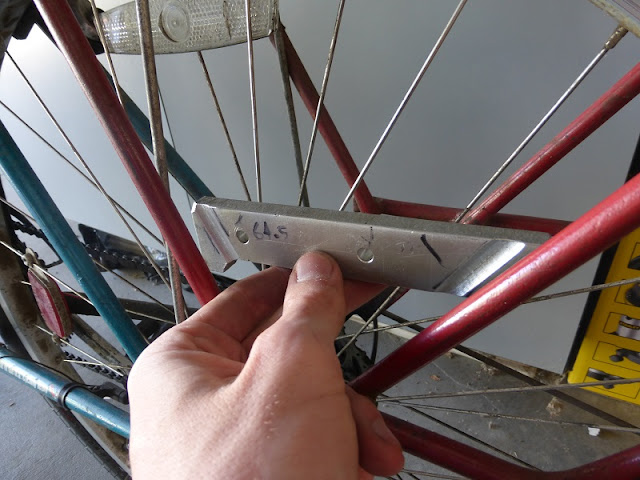
For the aluminum piece, I figured I'd mill some slots to help it index with the rack tubes so the hitch wouldn't slide out of alignment. Using a protractor to match the angles.
Then using a ball end mill to cut the slots while the vise was tilted at the corresponding angles.
Perfect fit!
Then after cutting off the excess material and bolt length.
For some extra rigidity, welding some material on the scooter "fork".
Drilling a hole for a hitch pin.
The hitch completed. I ended up not using the hitch pin (probably since I drilled the hole too low on the axle causing it to be too tight) in favor of the lock nut. Even though this isn't "proper", I never had a situation with it falling off.
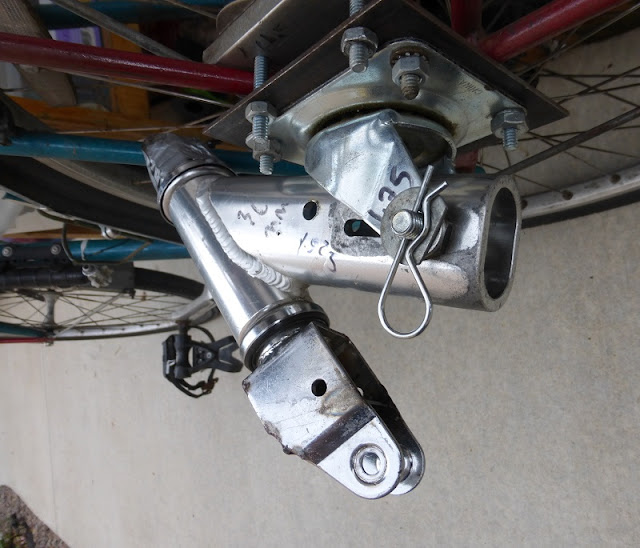 |
| *insert Will Smith "Hitch" reference here |
Part 1 Part 2 Part 4 Part 5 Part 6 Part 7 Part 8








No comments:
Post a Comment
Hi folks, please only leave comments relative to the blog post. All spam will be removed and spammers will be blocked.
Note: Only a member of this blog may post a comment.