When I built my loft bed, I placed it next to the window to have convenient natural lighting in the computer lab. However, sometimes the light is overbearing and causes glare on my computer screen. I wanted to have the option to block this out.
Where we last left off, I had completed the side curtains for the door. I still had another set of curtains remaining, so it was time to build another curtain rod!
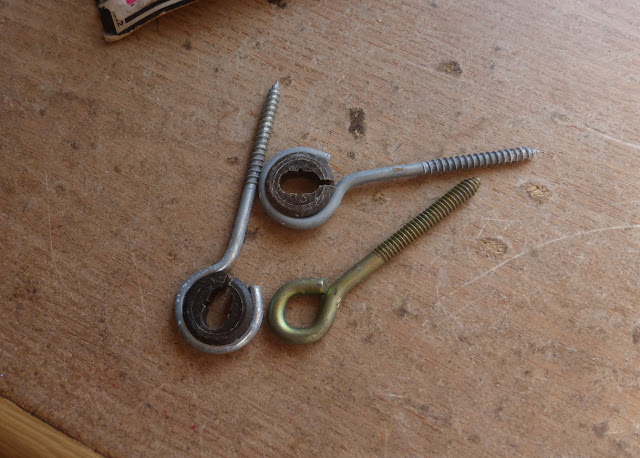
I found these eyelets at a garage sale. The ones with the plastic inserts were in a package marked as "TV cable hangers". I decided to use these, taking advantage of the plastic inserts to make my screw clearance tighter as illustrated below.
First step was to drill holes in the beam to mount the eyelets. Thankfully my drill was long enough to drill from the other end.
I had some wood left over from destroying that box spring a while back. This piece seemed curtain-rod-shaped enough to use, and already the perfect length! First drilling some holes in the ends for screws.
Then sanding the corners sufficiently to not feel like they'd cut the curtain loops. Here I'm using my new sanding block I got at a garage sale.
Here's how the curtain rod is connected. The eyelets screw into the bed beam, then the rod floats in between with screws and fender washers supporting it on either end. I will admit it's not the most ideal setup, but good enough without leaving the house to buy extra materials!
Glare averted!
Now the loft bed is really completed!
Another addition I made, in the top left corner of the picture, is half a plastic container screwed onto the main beam. This is useful for holding my alarm clock and other things that would normally go on a bedside table.


No comments:
Post a Comment
Hi folks, please only leave comments relative to the blog post. All spam will be removed and spammers will be blocked.
Note: Only a member of this blog may post a comment.