Today was our first attempt doing the brew in a bag method (BIAB). We decided to see if it would work for future batches by making a pale ale. Our recipe was incredibly simple.
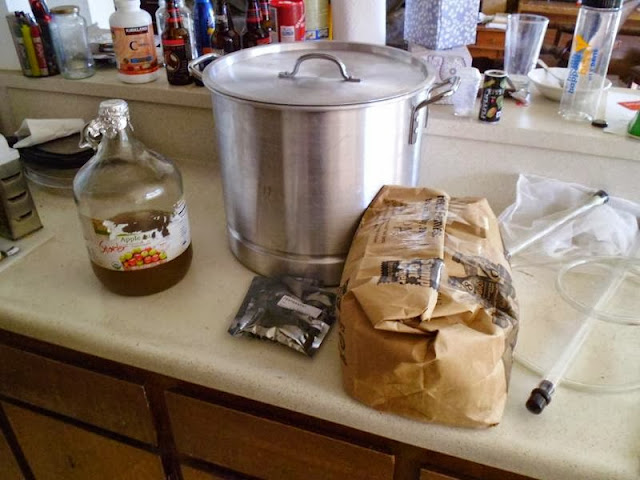 |
| Step 1: Assemble supplies |
Centennial Pale Ale (5 gallon batch)
10 lbs 2 Row Pale Malt
2 lbs Crystal 40
3 oz Centennial Hops
Safale US-05 (2 oz of DME used for starter)
5 oz Dextrose (bottling)
Since we still had yeast leftover from our rye beer, we revived that by making a starter. This was accomplished by mixing in the contents of the mason jar in the fridge with water and some dry malt extract. It sat for 24 hours before being pitched.
 |
| I wish it was still juice |
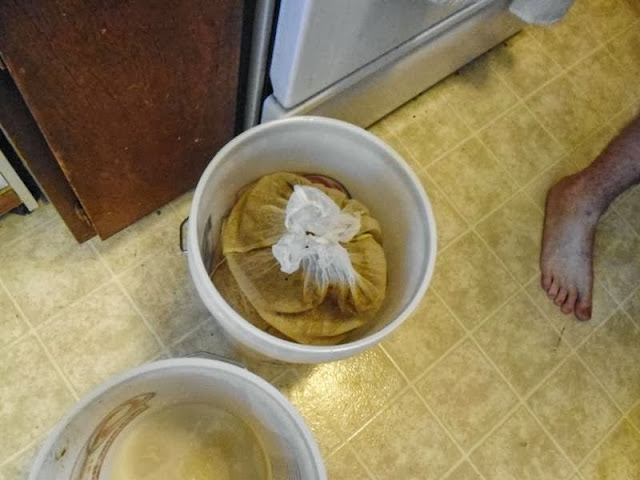
To do BIAB, we purchased some paint bags to allow us to do our mash in our brew kettle. We questioned the amount of grain they could hold, but they were able to hold all 12 lbs of it.
 |
| My kitchen now smells like malt |
 |
| To prevent clumping, grain was added to the bag in small amounts. |
 |
| Once all was added, the picture above shows how frothy the water became |
The grain was heated to 66 degrees Celsius and held at that temperature for 90 minutes. Once that time had passed, the grain bag was removed. We sampled the wort to find the gravity. The measurement read at around 1.035, which wasn't good at all. We figured that squeezing the bag to extract more sweet liquid would help to raise our sugar content. While a helpful step, the ideal was we found to raise our gravity was to do a longer boil. Our boil was 90 minutes instead of the usual 60 minutes that we do.
 |
| Heavy sack (ignore the Hobbit foot) |
1 oz of Centennial hops were added 30 minutes into the boil and another oz was added 15 minutes before the end of the boil.
 |
| I liked the smell of these ones |
 |
| Boilin' |
Our observations from previous batches improved our wort cooling efficiency. Instead of running buckets up and downstairs, we were able to supply the sink with cool water directly from the faucet. Warm water was siphoned out and transferred to my garden (none went to waste).
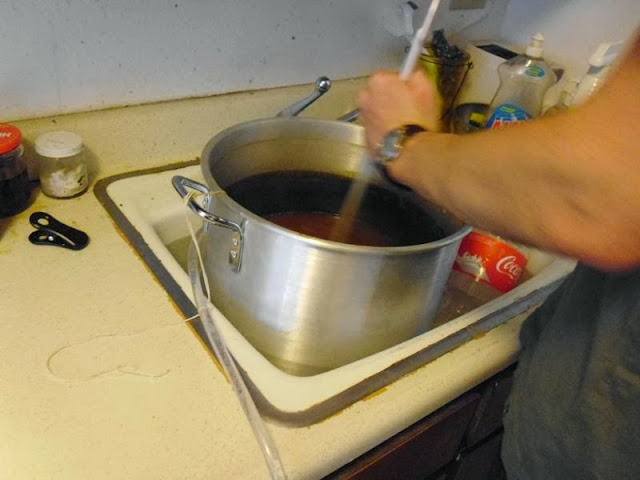 |
| Stirring the wort cooled it down quicker. |
It only took us 30 min to cool our wort down to 30 degrees Celsius this time. I think we will attribute that to the smaller volume of liquid we obtained. Since we had a longer boil, we lost a lot more water than we should have. However, the remaining 3.5 gallons of wort was much denser than the original 6 gallons of water. The OG for this batch was 1.060 which will give us a beer with an estimated ABV of 5.5% to 6%. From our calculations, our mash efficiency was only 47%. I think we can improve that before we do this method again. I am guessing that if we did not boil for 90 min, our wort volume would be closer to 4 gallons. I think that the OG of that would be closer to 1.050 instead though.
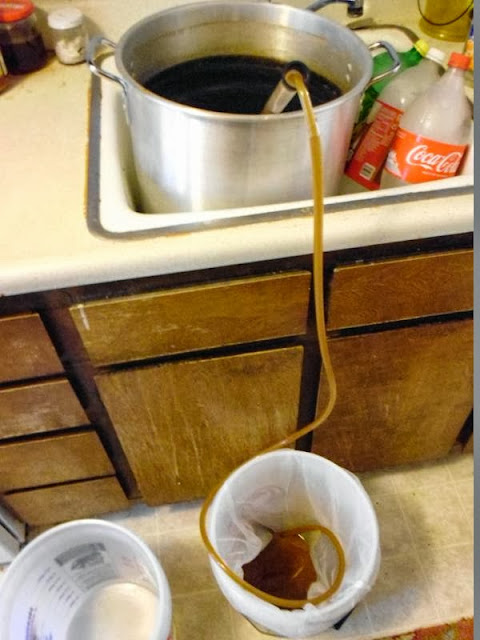 |
| Siphoning wort into the fermenter |
 |
| Resting place for the next 2 weeks |
Once the beer was moved to the closet, the starter was pitched. It will ferment for 2 weeks before it is racked to secondary and dry hopped. After 1 week of secondary, it will be bottled and conditioned for a week before serving. As of Tuesday, the upstairs of our apartment smelled of malt and the yeast could be heard bubbling in the fermenter. Cheers!
 |
| In case of raids |
Update 10/3/13:
Beer was transferred to secondary and dry hopped. Gravity reading was
1.012, resulting in an ABV of
6.3%.
Bottling Day


No comments:
Post a Comment
Hi folks, please only leave comments relative to the blog post. All spam will be removed and spammers will be blocked.
Note: Only a member of this blog may post a comment.