 |
| I had a visionary idea to start a business selling bike pedals that look like ice cream sandwiches. |
 |
| Image from the failed pedal straps post |
On top of that, I couldn't find the metal supply store that stocked 3/4" chromoly round stock, so I was forced to make the axles out of whatever was lying around.... bad move.
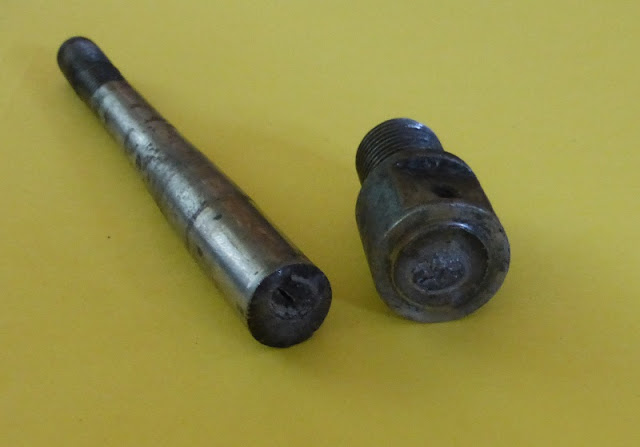
In the case of the pedals that went on my main bike, one of the pedals had an axle made of cold rolled 1018, and the other one was hot rolled. Guess which one broke first? Yes, the hot rolled one, since hot rolled is weaker due to its larger grain structure, making it softer and more flexible. Notice the breaking pattern on the cross section, it's clear that the axle had been cracked part of the way through for a while before it finally broke off. This happened after 5 or so months of use. I had actually machined a new axle to replace the broken one, but over time, I just abandoned the whole project altogether. I knew without the proper steel and heat treatment, this would eventually happen again.Fast forward a few years later: I bought some more pedals at a garage sale with hopes of rekindling my interest in toe straps. These pedals looked really nice with the leather straps, metal clips, and everything, but for some unknown reason, the designers thought it would be a good idea to hold it all together with a PLASTIC pedal body!!!! Now, you don't have to be The Mike Tyson of Engineering to know that plastic threads strip far easier than metal ones (take the waffle iron project for instance). I didn't want to waste this perfectly good opportunity throwing out pedals with so many useful parts in tact, so I decided to take the initiative and give pedal building another chance... except this time I would already have a decent axle/ bearing set to work with, so I wouldn't suffer the same fate as before.
Simple enough, right? All I got to do is remake the pedal bodies except out of metal. Here I am reverse engineering the plastic ones, and selecting some 1" thick pieces of scrap aluminum to work with.
First milling the blocks square.
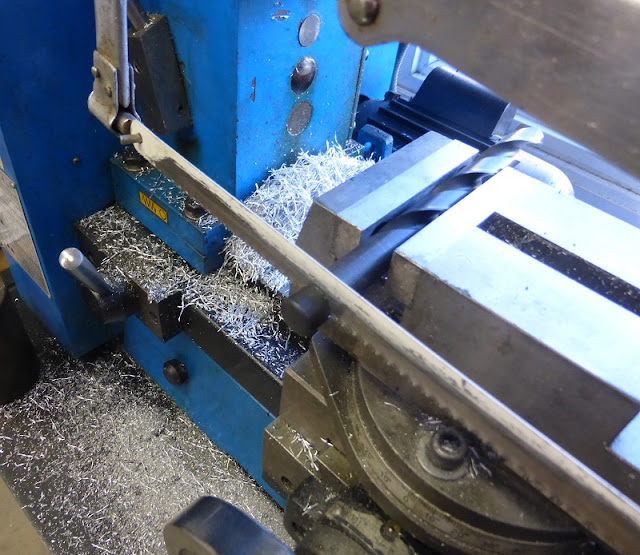
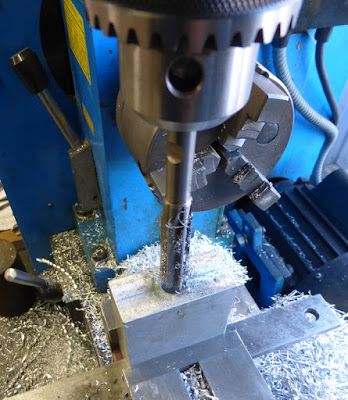
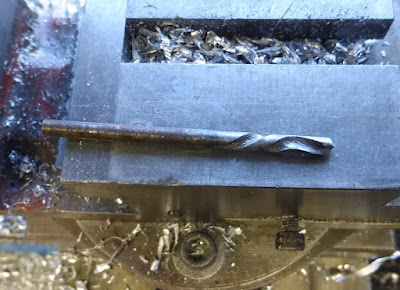
I decided that the through hole for the axle would be reamed to 1/2" to fit onto a lathe arbor for machining the bores for the bearing cups. Unfortunately, my 31/64" drill was just barely too long to fit my machine's travel, so I cut off a bit of the shank. This was only possible because drill shanks often aren't as hardened as the flutes, it worked though it did dull the hacksaw blade in the process.
Drilling the hole for reaming.
Reaming the hole.
Next, the holes for mounting the metal strip part of the pedal. I threaded them #10-24 since that seemed close to the size of the screws that went into the plastic. I figured I could also use these as the set screw holes for gripping on the arbor for the next operation too.
This is a funny looking drill, the flutes actually change direction part of the way up. I guess that means you could regrind it as a left handed drill if you wanted to.
Here I have chucked the 1/2" arbor in the lathe and tightened the pedal onto its flat for anti-rotation.
Boring one side of the bearing cup recess, also a shallow 7/8" counterbore for a dust cap.
After I bored one side for the bearing cups, I flipped the pedals around and mounted them on a different arbor which was turned to the bearing cup diameter. This ensured that both bearing recesses would be concentric to each other.
The pedal design was such that the crank-side bearing recesses were about .4" deep, and the opposite sides were .75". On one of the pedals, I accidentally bored both sides to .75" because I forgot which side I was working on. Fortunately, I didn't have to scrap the entire project. The fix was merely to turn a spacer with the bearing cup diameter to make up the length of the difference.
A view of the crank-side bearing bores. The one on the right was the one machined deeper by mistake. The spacer accounts for the difference.
Now laying out the contour to be machined. Since I don't happen to have a waterjet cutter in my garage, I had to do it the old fashioned way by drilling, sawing and milling. The green ink denotes the interior cavities which must not be cut into, hence "death".
First drilling some holes for the radii, and to fit the hacksaw blade through. Certainly don't want to have sharp corners here because they are 10x weaker.
Then sawing. I learned quick that a 1/2" tall saw blade would not fit through a hole slightly smaller than 1/2", So I decided to slice some of the blade off with aviation snips. Again, just like with the drill bit before, this was only possible because saw blades are usually only hardened on the teeth side, otherwise they would be too rigid and brittle. At least, that's how I saw it done in How It's Made.
Now that the rough shape has been cut out, next step is to remove the remaining material with the mill.
Certainly more rectangular-looking than the original design, but close enough.
I used my curvy tooth file to round the edges to give clearance for where the metal strip wraps around.
Reassembling the bearing assembly being careful not to lose any of the balls. I applied some grease that I got from the inside of an old hand drill that broke. The tricky part was tightening the outer cone and jam nut so that the bearings weren't too tight or too loose, I got it after about 5 tries.
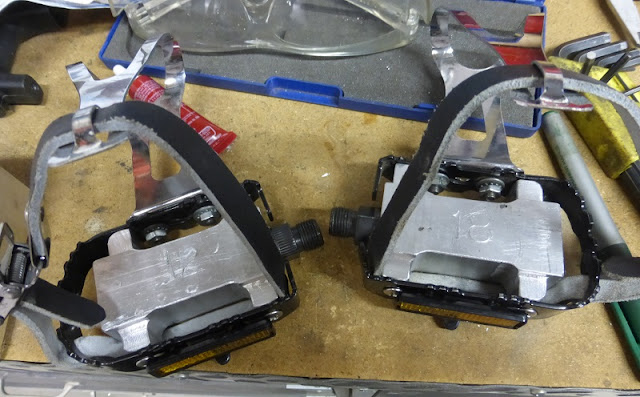
Then reattaching the metal strip/strap assemblies. I stamped the pedal bodies "12" and 18" for L and R, so I wouldn't get them mixed up again.
Lil' Rob fans would understand.
Finally, the dust caps. I was originally going to use a couple of 7/8" steel slugs, but then I realized there would be no way to get them out after being press fit. The next alternative were electric panel knockout plugs, but not being able to find any, decided to cut some plastic ones out of bottle caps.









No comments:
Post a Comment
Hi folks, please only leave comments relative to the blog post. All spam will be removed and spammers will be blocked.
Note: Only a member of this blog may post a comment.