One night, a broom without a handle appeared on the side of the road. I immediately acquiesced it with the intent to build a new handle out of some metal tubing or something. As luck would have it, I delayed the project long enough for another broom to spontaneously generate in a trash can as I was passing by. This phenomena is known as "
Scrap Alchemy", where the junk you need to build something appears at the right place and time. (see also:
bicycle seatpost part 2)
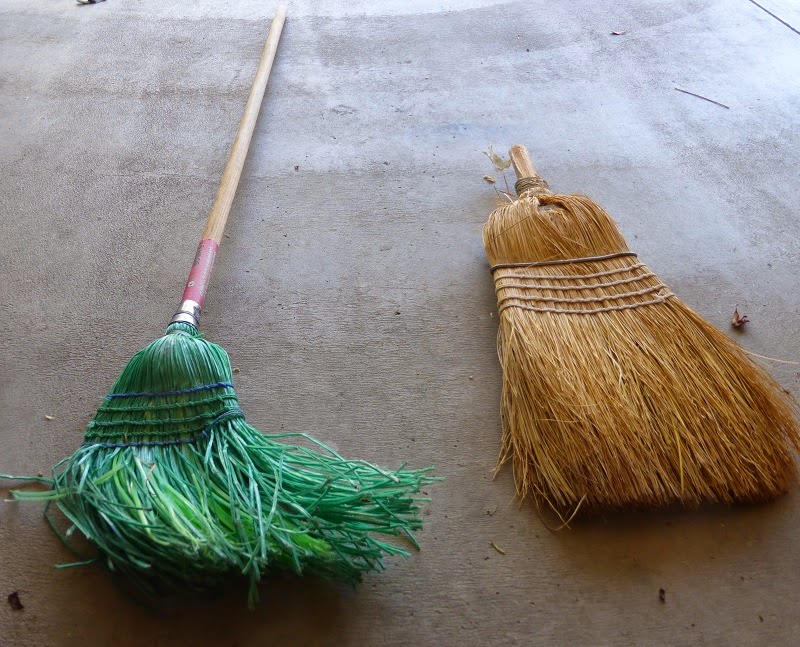
The second broom had a rather good handle, but terrible plastic bristles, likely the reason it was thrown out. To further the mystery, it was made in Mexico, which according to research, is the main producer of the broom corn for decent brooms (the assumed material of the first broom).
Anyhow, the goal was to take the good handle from the bad broom and attach it to the good, handle-less broom to get the best of both worlds.
The original plan was to saw the plastic broom off the handle, but I decided to disassemble it in a more civil manner and explore the inner workings of the broom. This was a good choice, as not only did I learn a bit about broom anatomy, I also saved a good 6" of handle that would've been wasted, in addition to recovering some metal wire.
 |
| The nucleus of the broom has been exposed. |
Due to the limited length of handle stub available on the good broom, I decided to mill flats on both the handle and stub to ensure the handle would attach on straight. Also, since the stub was larger diameter than the new handle, I milled the flat just wide enough to fit the handle forming a key preventing the handle from coming out of alignment. see below
First, milling the flat on the new handle. Seen in action is the
self-made 7/8" end mill holder. This wood milled remarkably nicely, it's a shame they wasted such good wood making terrible brooms that all of which will probably end up in a landfill prematurely.
Now milling the "key" in the broom stub. Notice it is only wide enough to fit the new handle.
With a bit more fashioning of the handle, the two fit together like pieces of a puzzle.
I initially planned to drill holes and bolt the two pieces together, but the keyed design made this unnecessary. I instead used a hose clamp that was sitting around. No need to make it more complicated than I already did, plus drilling holes would've made it weaker.
Therefore the only hole needed was in the other end of the handle for hanging on the wall.
Now I can use the broom to clean up the remnants of the broom. Is this a paradox? Reminds me of the time I threw away a trash can... the universe didn't explode that time either.
All done.


No comments:
Post a Comment
Hi folks, please only leave comments relative to the blog post. All spam will be removed and spammers will be blocked.
Note: Only a member of this blog may post a comment.